How a Jhumka Is Actually Made
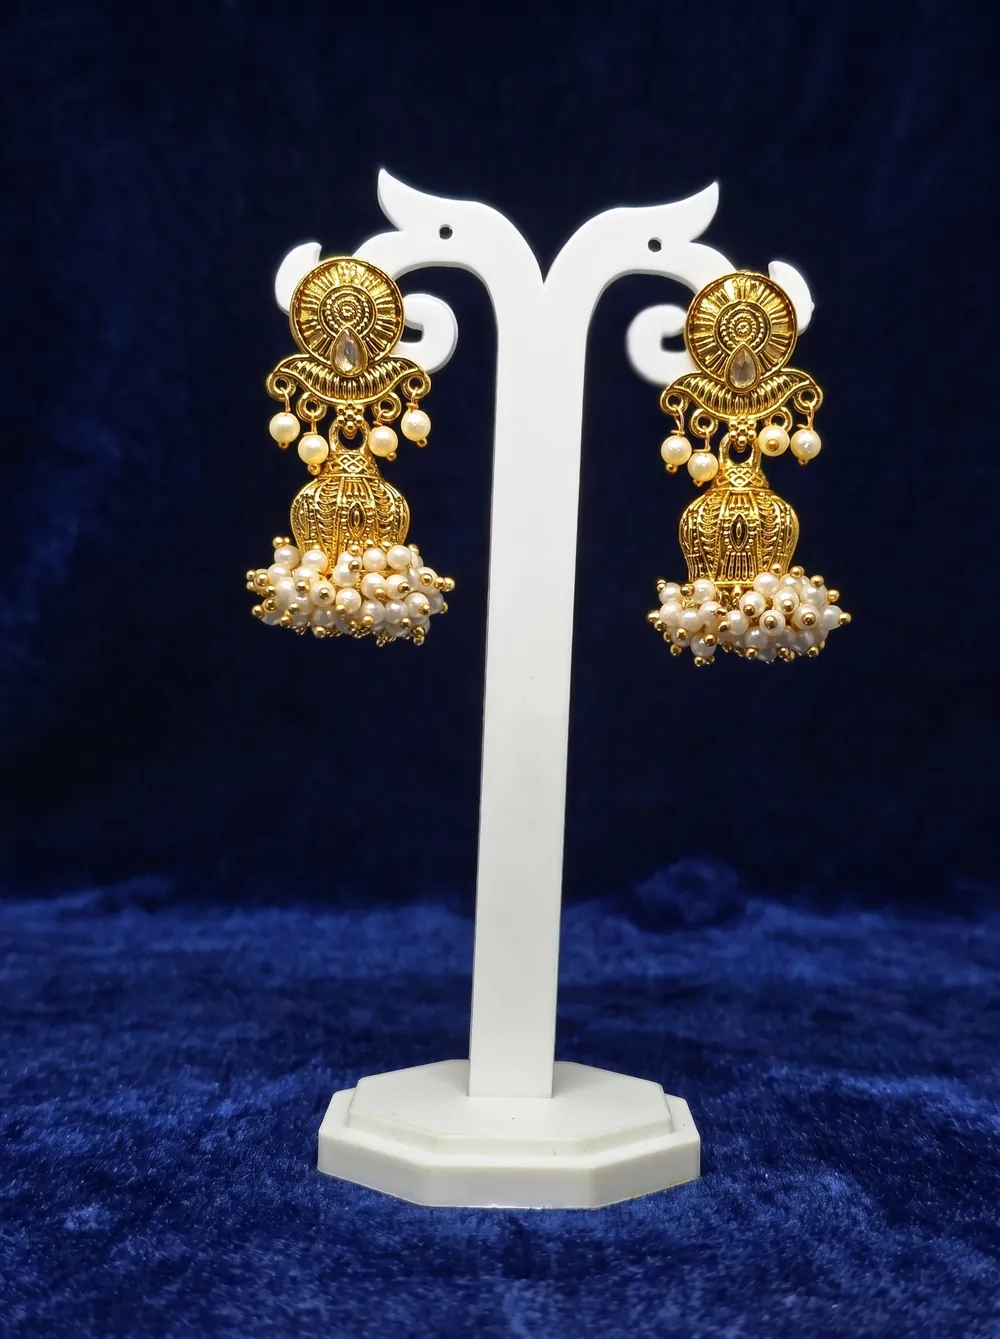
A jhumka looks like a single object. It is assembled from several, and each stage of making it decides something you can see in the finished pair. This is how ours are made, and what to look for as a result.
1. The model
Every design starts as a 3D model, then a 3D print. The print is the master the mould is taken from.
What this stage decides: the crispness ceiling. Nothing downstream can add detail the master does not have. A dome with shallow modelled detail will never cast sharp.
2. The mould and the casting
The master produces a rubber mould, and the mould produces wax copies, which are invested and cast in Zamak - a zinc alloy. This is the lost-wax principle, mechanised.
What this stage decides: how the piece ages as a product line. A mould has a working life. Early pulls are crisp; late pulls soften, because every cycle wears the cavity a little. This is why the tenth jhumka off a mould and the ten-thousandth do not look the same, and it is the single biggest variable in imitation jewellery quality.
It is also why the detail check on a photograph works: a soft crest, a filled-in gap, a blurred fringe are all signs of a tired mould, not a cheap metal. How to judge jewellery from a photo covers what to enlarge.
3. Cleaning up
The raw casting comes out with sprue marks where metal entered, and a seam where the mould halves met. Both are filed and finished by hand.
What this stage decides: whether the piece feels finished. Run a finger around the inside rim of a jhumka. A rough ridge there is a piece that skipped this. It is invisible in photographs and obvious in the hand, which is exactly why it gets skipped.
4. Plating
The cleaned casting is gold-plated, then given its finish - antique matte for most of our temple work, brighter for some Kundan pieces.
What this stage decides: how it looks and how long that lasts. Plating is a barrier over the base metal; it wears at contact points with time and use. We do not publish a thickness figure, because we hold no measurement we could stand behind and a number invented for a listing is worse than none.
5. Stone setting
Kemp and kundan stones are set by hand, one at a time, with jewellery adhesive rather than claws.
What this stage decides: where care runs out. Setters work in order, and the last stones set are usually the ones nearest the edges. Look at the outermost stones on any piece, ours included - if the rims are less even there, that is the tell.
6. Assembly
The dome, the top, the fringe and the hook are joined, and the pair is matched. Matching matters more than people expect: two jhumkas from the same mould can differ slightly, and a good pair is chosen rather than just boxed.
Why this is worth knowing
Not so you can admire the process - so you can inspect a piece properly. Four of those six stages leave evidence you can see:
- Crest, eye and fringe detail tell you about the mould's age.
- The inside rim tells you about the cleaning.
- The outermost stones tell you about the setting.
- Even finish in the recesses tells you about the plating.
Shop this look
- Antique gold South Indian jhumka, round ribbed top.
- Antique gold South Indian jhumka, scrollwork top - deeper relief, harder to cast well.
- Chakra kundan jhumka with pearl border.
Browse south indian jhumka earrings and kundan jhumka earrings. Jhumka styles across India covers the regional shapes.
The honest part
Everything here is gold-plated Zamak with hand-set kemp and kundan stones, cast and finished in our workshop in Kandivali East, Mumbai. It is imitation jewellery, not solid gold, and the product page says so. Free shipping across India, GST in the price, and a manufacturing defect reported within 48 hours of delivery with a continuous unboxing video is repaired or replaced free.